Embroidery isn’t for the faint of heart and takes practice and patience, but if you’re looking for fun embroidery design inspiration, you’ve come to the right place!

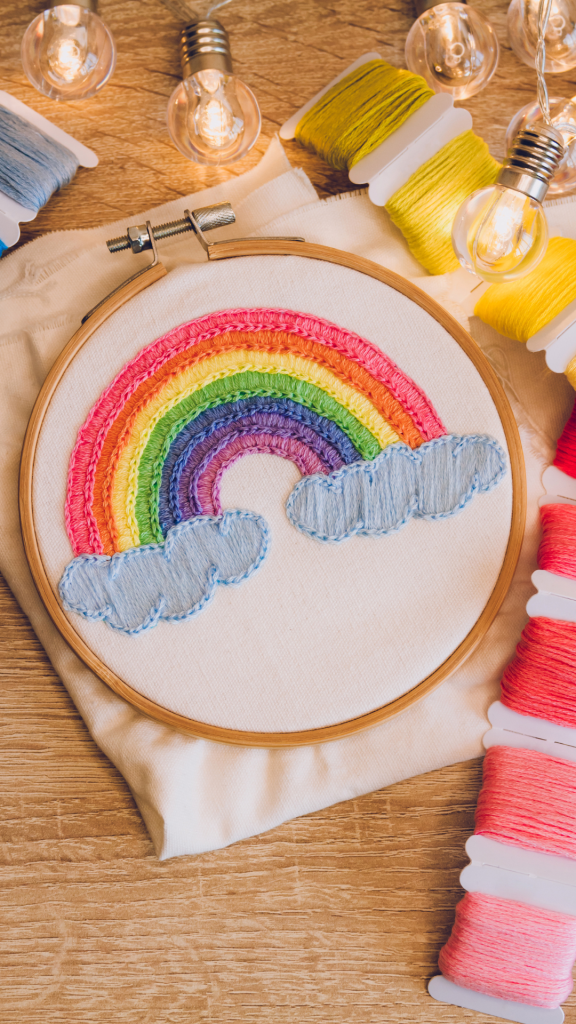
Let’s dive in and learn how to make a stunning rainbow embroidery that’s not only fun but also a testament to your artistic spirit! This could be the perfect sewing craft for Valentine’s Day or St. Patrick’s Day!
Embroidery may seem like a daunting craft, but fear not! Follow these simple steps to set the stage for your rainbow masterpiece:
Gather Your Supplies:
- Embroidery hoop
- Fabric (white or light-colored works best)
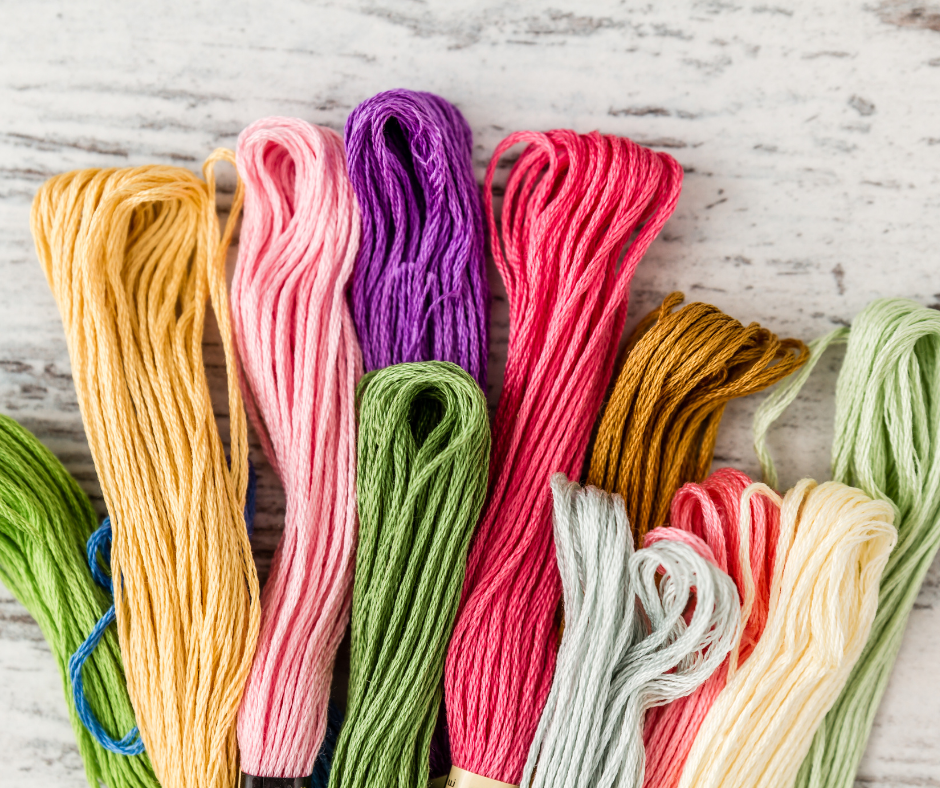
- Embroidery floss in rainbow colors
- Embroidery needles
- Scissors
- Pencil or water-soluble fabric marker

- Choose Your Canvas:
- Select a fabric for your masterpiece. A natural tan or light-colored fabric will make the rainbow colors pop!
- Design Your Rainbow:
- Sketch a simple design for your rainbow on the fabric using a pencil or water-soluble fabric marker. Feel free to get creative with curves or experiment with different shapes.
- Thread the Needle:
- Cut a length of embroidery floss (about 18 inches) and thread it through the embroidery needle. Knot the end securely.
- Secure in the Hoop:
- Place your fabric in the embroidery hoop, ensuring it’s taut. Tighten the screw to secure the fabric in place.

How to Embroider for Beginners:
Now, let’s dive into the actual embroidery process, whether you choose to use an embroidery machine or prefer the meditative rhythm of hand embroidery.
TIP: This craft is best for people who already have a basic knowledge of embroidery.
For Hand Embroidery:
- Backstitch Basics:
- Start with the backstitch, a fundamental embroidery stitch. Bring the needle up from the back of the fabric and insert it back down, creating a single straight stitch.
- Create the Rainbow Arch:
- Begin with the outermost color of your rainbow. Use the backstitch to outline the first arch, working your way inward with each subsequent color.
- Fill in the Colors:
- Once the outline is complete, fill in each arch with parallel lines of the same color using the satin stitch. This will create a vibrant and cohesive rainbow.
- Experiment with Texture:
- Feel free to mix up your stitches! Add texture to your rainbow by incorporating different embroidery stitches like the French knot or seed stitch for variety and visual interest.

For Embroidery Machine:
- Upload Your Design:
- If you’re using an embroidery machine, upload your rainbow design to the machine. Many machines come with built-in designs, or you can find countless patterns online.
- Select Your Threads:
- Load the machine with the rainbow-colored embroidery thread, matching the colors to your design.
- Let the Machine Work Its Magic:
- Follow the machine’s instructions to start the embroidery process. Sit back and watch as your vibrant rainbow comes to life!

Tips and Ideas for a Fun Colorful Rainbow:
- Mix and Match Materials:
- Experiment with different fabrics and threads to add texture and depth to your rainbow. Consider using metallic threads for a touch of sparkle!
- Add Personal Touches:
- Incorporate your own style into the design. Add clouds, stars, or even a smiling sun to make your rainbow uniquely yours.
- Go Beyond Rainbows:
- Once you’ve mastered the rainbow, try your hand at other simple designs. Flowers, animals, or geometric shapes are great next steps for expanding your embroidery repertoire.
- Frame Your Art:
- Turn your finished masterpiece into a piece of wall art by framing it. Choose a frame that complements your color palette for an extra touch of elegance.

Embroidery is not just about the finished product but the therapeutic process of creation. Take your time, enjoy the rhythm of the stitches, and revel in the joy of watching your rainbow come to life.
Share our cool shit on Pinterest!!

